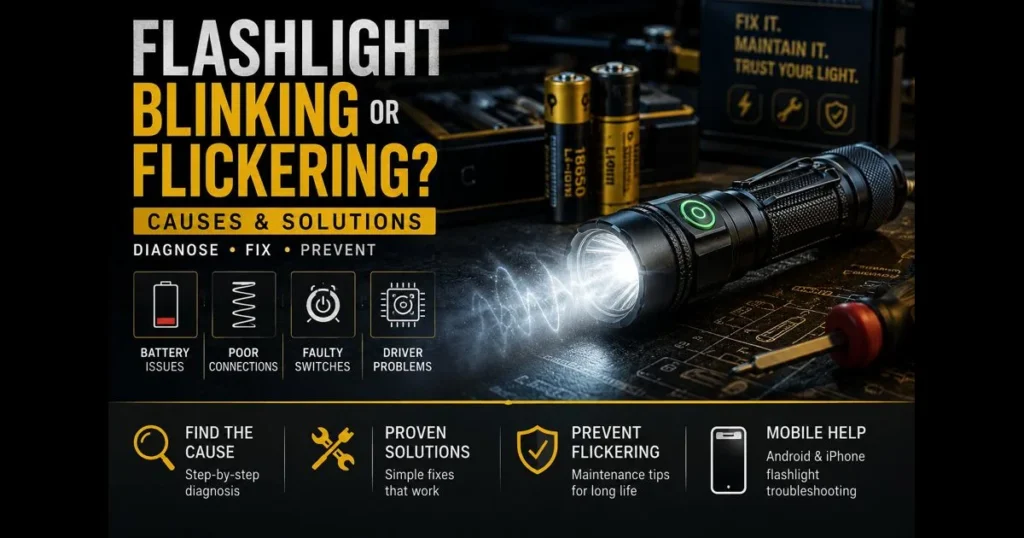
When you need steady light, flashlight blinking or flickering can be frustrating and undermine your confidence in your gear. Fortunately, most issues stem from a few predictable culprits—power, contact points, switches, or the driver that powers the LED. This guide explains what might be happening, how to diagnose flickering step by step, and the best fixes you can implement at home. Additionally, you’ll learn practical maintenance habits to prevent problems before they arise. For mobile users, we also cover how to troubleshoot the “flashlight not working on Android” and “iphone flashlight not working” moments, and how to conduct a quick flashlight test online using our built-in Torch Tester to determine whether the issue is hardware or software related.
- Understanding Flashlight Technology
- Common Causes of Flashlight Blinking
- Diagnosing a Torch Flickering Problem
- Solutions for Flashlight Flashing Problems
- Preventative Measures to Avoid Flickering
- When to Seek Professional Help
- User Experiences and Tips
1. Understanding Flashlight Technology
Overview of flashlight components and their roles
A flashlight operates like a miniature power system: batteries feed a driver, which regulates current, and the emitter (LED or bulb) produces light. A switch and metal pathways complete the circuit. The body itself plays a crucial role—anodized threads, springs, and retaining rings influence battery connections. Any loose, dirty, or oxidized contact introduces resistance, often manifesting as dimming or a rhythmic blink when the light is moved. (See: Flashlight – Wikipedia.)
Modern flashlights frequently include a microcontroller that manages modes (low/medium/high, turbo, strobe) and thermal limits. If voltage drops or excess heat is detected, the driver may throttle output or pulse the light. This responsive behavior can create the impression that a flashlight is “thinking” before flickering back to brightness. Related reading: flashlight not working android.
Types of flashlights: LED, incandescent, and more
Incandescent models are straightforward: a filament glows when powered. Flickering usually indicates a failing bulb or unstable contacts. LED flashlights are more efficient and durable, but their electronics can lead to specific issues such as low-voltage protection or a faulty driver causing pulsing. Rechargeable models introduce additional variables, like an onboard charging board that can corrode or loosen over time.
Headlamps and tactical lights often use tail switches and mode memory, while lanterns may feature wider contact surfaces and complex drivers. Each design has unique failure points, but flickering often stems from similar root causes.
2. Common Causes of Flashlight Blinking
Battery issues: low power or poor connections
Low batteries are a classic culprit. As voltage diminishes under load, many drivers signal this by blinking or stepping down before shutting off to protect the cell. Corroded or dirty contacts can act as resistance, especially in lights that rely on the body tube for the return path. A weak spring may intermittently lose contact during movement, resulting in flickering that appears random but correlates with vibrations. Even reputable models from brands like Maglite, Streamlight, and SureFire can show these behaviors when cells sag or contacts are compromised; the underlying physics are the same.
Mismatched cells—mixing old and new or different brands—can also create unstable voltage. On lithium-ion models, a tripped protection circuit or damaged wrapper might intermittently interrupt power.
Faulty switches and internal wiring problems
Mechanical tail switches can wear out. If the small metal dome inside deforms, it may create a chattery connection, resulting in micro-blinks with every touch. Side e-switches rely on a ribbon cable or thin wires soldered to the driver; rough handling or frequent battery swaps can crack these solder joints.
In drop-prone lights, the driver’s retaining ring may loosen. Even a slight gap can cause the beam to flicker. Just one loose fastener can trigger flickering at the most inconvenient times.
3. Diagnosing a Torch Flickering Problem
How to visually inspect your flashlight
Begin your inspection on a clean, well-lit surface. Check the battery for swelling, torn wrappers, rust, or crusty deposits. Examine springs at both ends—are they flattened, bent, or discolored? Look at threads and O-rings; dried lubricant or dirt can prevent the tailcap from seating fully, weakening ground contact.
Open the head and tail if accessible. Gently try to rotate the driver retaining ring with a non-metallic tool; it should be snug. A magnifying glass can help spot cracked solder joints or frayed wires leading to the switch. If tapping the body causes flickering, it indicates a mechanical connection issue rather than an LED failure.
Testing batteries and connections for issues
First, swap in a known-good battery. If the flicker disappears, the problem is clear. If not, clean contacts with a cotton swab dipped in isopropyl alcohol or a soft pencil eraser for light oxidation. Avoid abrasive sanding unless absolutely necessary.
Utilize our built-in Torch Tester for a simple flashlight test online. This tool guides you through steady-on checks and prompts mode toggling, helping you log when flickering occurs. On phones, it uses screen patterns to help differentiate between driver shimmer and contact failures, which is especially useful for intermittent issues.
4. Solutions for Flashlight Flashing Problems
Replacing batteries and cleaning contacts
Install fresh, compatible batteries. For multi-cell lights, always use matched sets of the same age and brand. Ensure polarity is correct; reverse insertion can trip protection or stress the driver. Lightly clean battery ends and springs, and apply a small amount of silicone-safe lubricant to threads to ensure the tailcap seats fully and maintains a solid electrical connection.
If your light has a removable spring or contact board, tighten the retaining ring. A simple quarter-turn can resolve months of mysterious flickering. For rechargeable models with USB ports, inspect the port for lint and corrosion; clean it carefully and allow it to dry before testing again.
Repairing or replacing switches and wiring
For mechanical tail switches, replacement is often the most effective solution. Many brands offer drop-in switch assemblies—just unscrew the tailcap, remove the retaining ring, and swap the module. If you’re comfortable with soldering, reflow any cracked wires at the driver or switch pad, and support them with heat-shrink tubing to reduce future stress.
Some issues may stem from the driver itself. If mode changes trigger blinking, the microcontroller or current regulator may be failing. Driver boards can often be replaced in enthusiast lights; however, for sealed consumer models, it may be more practical to replace the entire unit due to cost and waterproofing concerns.
For phone users experiencing “flashlight not working on Android,” try rebooting first, then check camera permissions or apps that could be reserving the LED. Safe Mode can help identify conflicts. For “iPhone flashlight not working,” close the Camera app, check Control Center settings, and test after a soft reset. Hardware damage near the camera module may disable the LED even if the phone otherwise functions normally.
5. Preventative Measures to Avoid Flickering
Proper storage and maintenance of flashlights
Store flashlights in a dry location, keeping caps slightly loosened if the model allows for mechanical lockout. This helps prevent slow parasitic drain and minimizes corrosion on contact points. Wipe the body after exposure to moisture or salt, and keep O-rings supple with silicone grease to ensure the tailcap tightens fully and maintains reliable electrical connections.
Incorporate contact cleaning into your regular flashlight maintenance routine. A quick swab of the tail spring, tube threads, and head contact a few times a year keeps resistance low and flickering at bay.
Regularly checking and replacing batteries
Rechargeable lithium-ion batteries prefer moderate states of charge during storage. Top them up before critical use and retire cells that run hot or show signs of damage. Label pairs that are used together in multi-cell lights to avoid mixing ages.
Be mindful of button-top versus flat-top batteries; ensure you’re using the type specified by the manufacturer for optimal contact. If a flashlight begins to step down earlier than expected, treat it as an early warning rather than a surprise failure.
6. When to Seek Professional Help
Identifying when a flashlight is beyond DIY repair
Sealed flashlights with potted electronics are hard to open without risking waterproofing. If the driver frequently triggers protection even with known-good cells, or the LED displays discoloration, internal damage is likely. Extensive corrosion under the lens, crushed battery tubes, or melted switch boots suggest that a DIY fix could lead to more problems.
If a headlamp’s ribbon cable is torn or a lantern’s charging board is scorched, replacement is generally safer than repair, especially for equipment relied upon in emergencies.
Finding a reliable repair service
Start with the manufacturer; many offer warranty assessments and reasonably priced out-of-warranty service. If available, qualified electronics repair services or manufacturer-authorized centers can handle switch replacements and simple soldering; be sure to bring the exact model number and any accessories. Prioritize services that guarantee pressure seal and O-ring replacement and water-testing after repair.
Check enthusiast forums and maker spaces, which sometimes maintain parts bins for common models. If the fix requires a proprietary driver or lens, factor in shipping time and cost against the price of a new light with similar output.
7. User Experiences and Tips
Sharing personal stories of flashlight issues and fixes
One common scenario: a light flickers only while jogging. After a week of troubleshooting, the owner discovered a flattened tail spring barely making contact with the battery. A simple $2 spring replacement resulted in a steady beam. Another reader believed their camp lantern was haunted; it blinked every ten minutes. The culprit? A corroded USB-C port intermittently signaling the lantern to change modes.
Mobile users have shared similar tales. One user resolved a persistent “flashlight not working on Android” issue by uninstalling a QR code app that monopolized the LED in the background. An Apple user with “iPhone flashlight not working” found success by disabling conflicting shortcuts. Sometimes the solution lies not in hardware, but in settings and app conflicts.
Expert tips on choosing the right flashlight for your needs
Prioritize quality springs, robust threads, and a proven driver over flashy lumen claims. Look for lights with nickel-plated springs and solid contact rings, and choose tailcaps that lock securely. Simpler user interfaces are generally more reliable under stress; if you require strobe functionality, ensure it isn’t too easy to activate accidentally, as confusion can mask genuine issues.
For work use, consider models with physical lockout features and replaceable switches. For ultralight kits, always carry a compact backup—redundancy is crucial when dealing with potential flickering at 2 a.m. Before any outing, use the Torch Tester on this page for a guided flashlight test online that walks you through essential checks to catch issues before they arise on the trail.
A steady beam results from clean contacts, healthy cells, and sound design. If you’re currently facing a flashlight flashing problem, start by swapping the battery and cleaning contacts, then methodically check the switch and driver. Use our Torch Tester to document your observations, make one change at a time, and you’ll either resolve the issue or gather clear evidence for a warranty claim. Ready to restore your light’s reliability? Grab fresh batteries, clean the contacts, and run a test—your future self in the dark will be grateful.
Frequently Asked Questions
Why is my flashlight blinking?
A blinking flashlight can indicate low battery power, a faulty connection, or issues with the bulb. Check the batteries first and ensure they are properly installed.
How can I fix a blinking flashlight?
To fix a blinking flashlight, start by replacing the batteries and cleaning the contacts. If the problem persists, inspect the bulb and connections for damage.
Are there specific types of flashlights that blink intentionally?
Yes, some flashlights are designed to blink as a signaling feature or for emergency use. These typically have a dedicated mode for strobe or SOS signals.